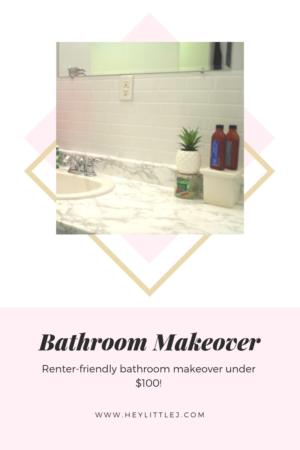
Raise your hand if you ever get the itch to re-decorate. Same, girl, same. Now raise your hand if you rent the space you live in. Me too! If you’re a renter, there are probably certain things in your home that you would change if you could. For me, it was my countertops and lack of backsplash. There was nothing wrong with this “before” picture, but I was looking for something to brighten up my bathroom. Since I’ve been renting for quite a long time, I’ve learned a lot of tips and tricks on how to make your space your own without ruining what’s already there and how to do it on a budget! I transformed my bathroom, with this D.I.Y. bathroom makeover, in a couple of hours and under $100! Ready to see the “After”?
TADA!

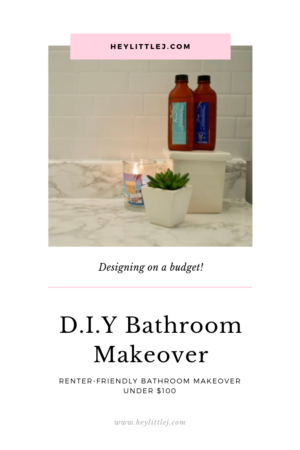
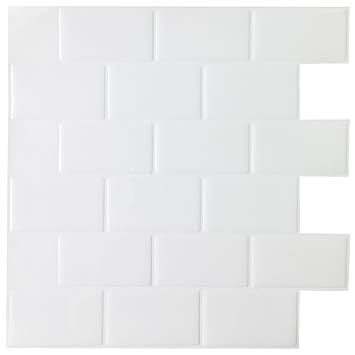
Much better, right? What once was a dark basement bathroom, is now bright and airy! How did I do it? Well, if you’ve been around for a while, you would have seen my kitchen makeover blog post. If you haven’t read that yet, click here to do so. If you’ve seen that post, you’ll see that I am a HUGE fan of contact paper and Smart Tiles. They’re a renter’s DREAM! Easy to install, once you get over the small learning curve, and won’t cost you an arm and a leg! Scroll down to the bottom of this post to shop! Curious to see how I did it? Scroll down for step by step instructions or watch this video:
How To Apply The Contact Paper
- Clean your countertops. It won’t stick to a dirty surface.
- Measure your counter. If you happen to have the “backsplash” piece, do that first. It’s easier to start there, trust me.
- Cut the film to the correct size. I like to make it a little bigger than I need because you can always cut the excess off.
- Remove two inches of the backing and stick it to your counter.
- Slowly remove more of the backing and stick on the adhesive. I like to use a credit card to smooth out any bubbles along the way. If you’re having a hard time with air bubbles, I recommend using a hairdryer as well. It helps move the air trapped inside.
- Repeat as needed!
It’s really that easy! You’ll find it tricky to go around your sink though, just be patient!
How To Apply The Backsplash
- Clean your walls. Again, these will not stick to dirty surfaces.
- Start in the bottom corner. You’ll need to cut off one end of your tile so that they are flush with the wall.
- Stick it on!
- Repeat as needed!
Accessories
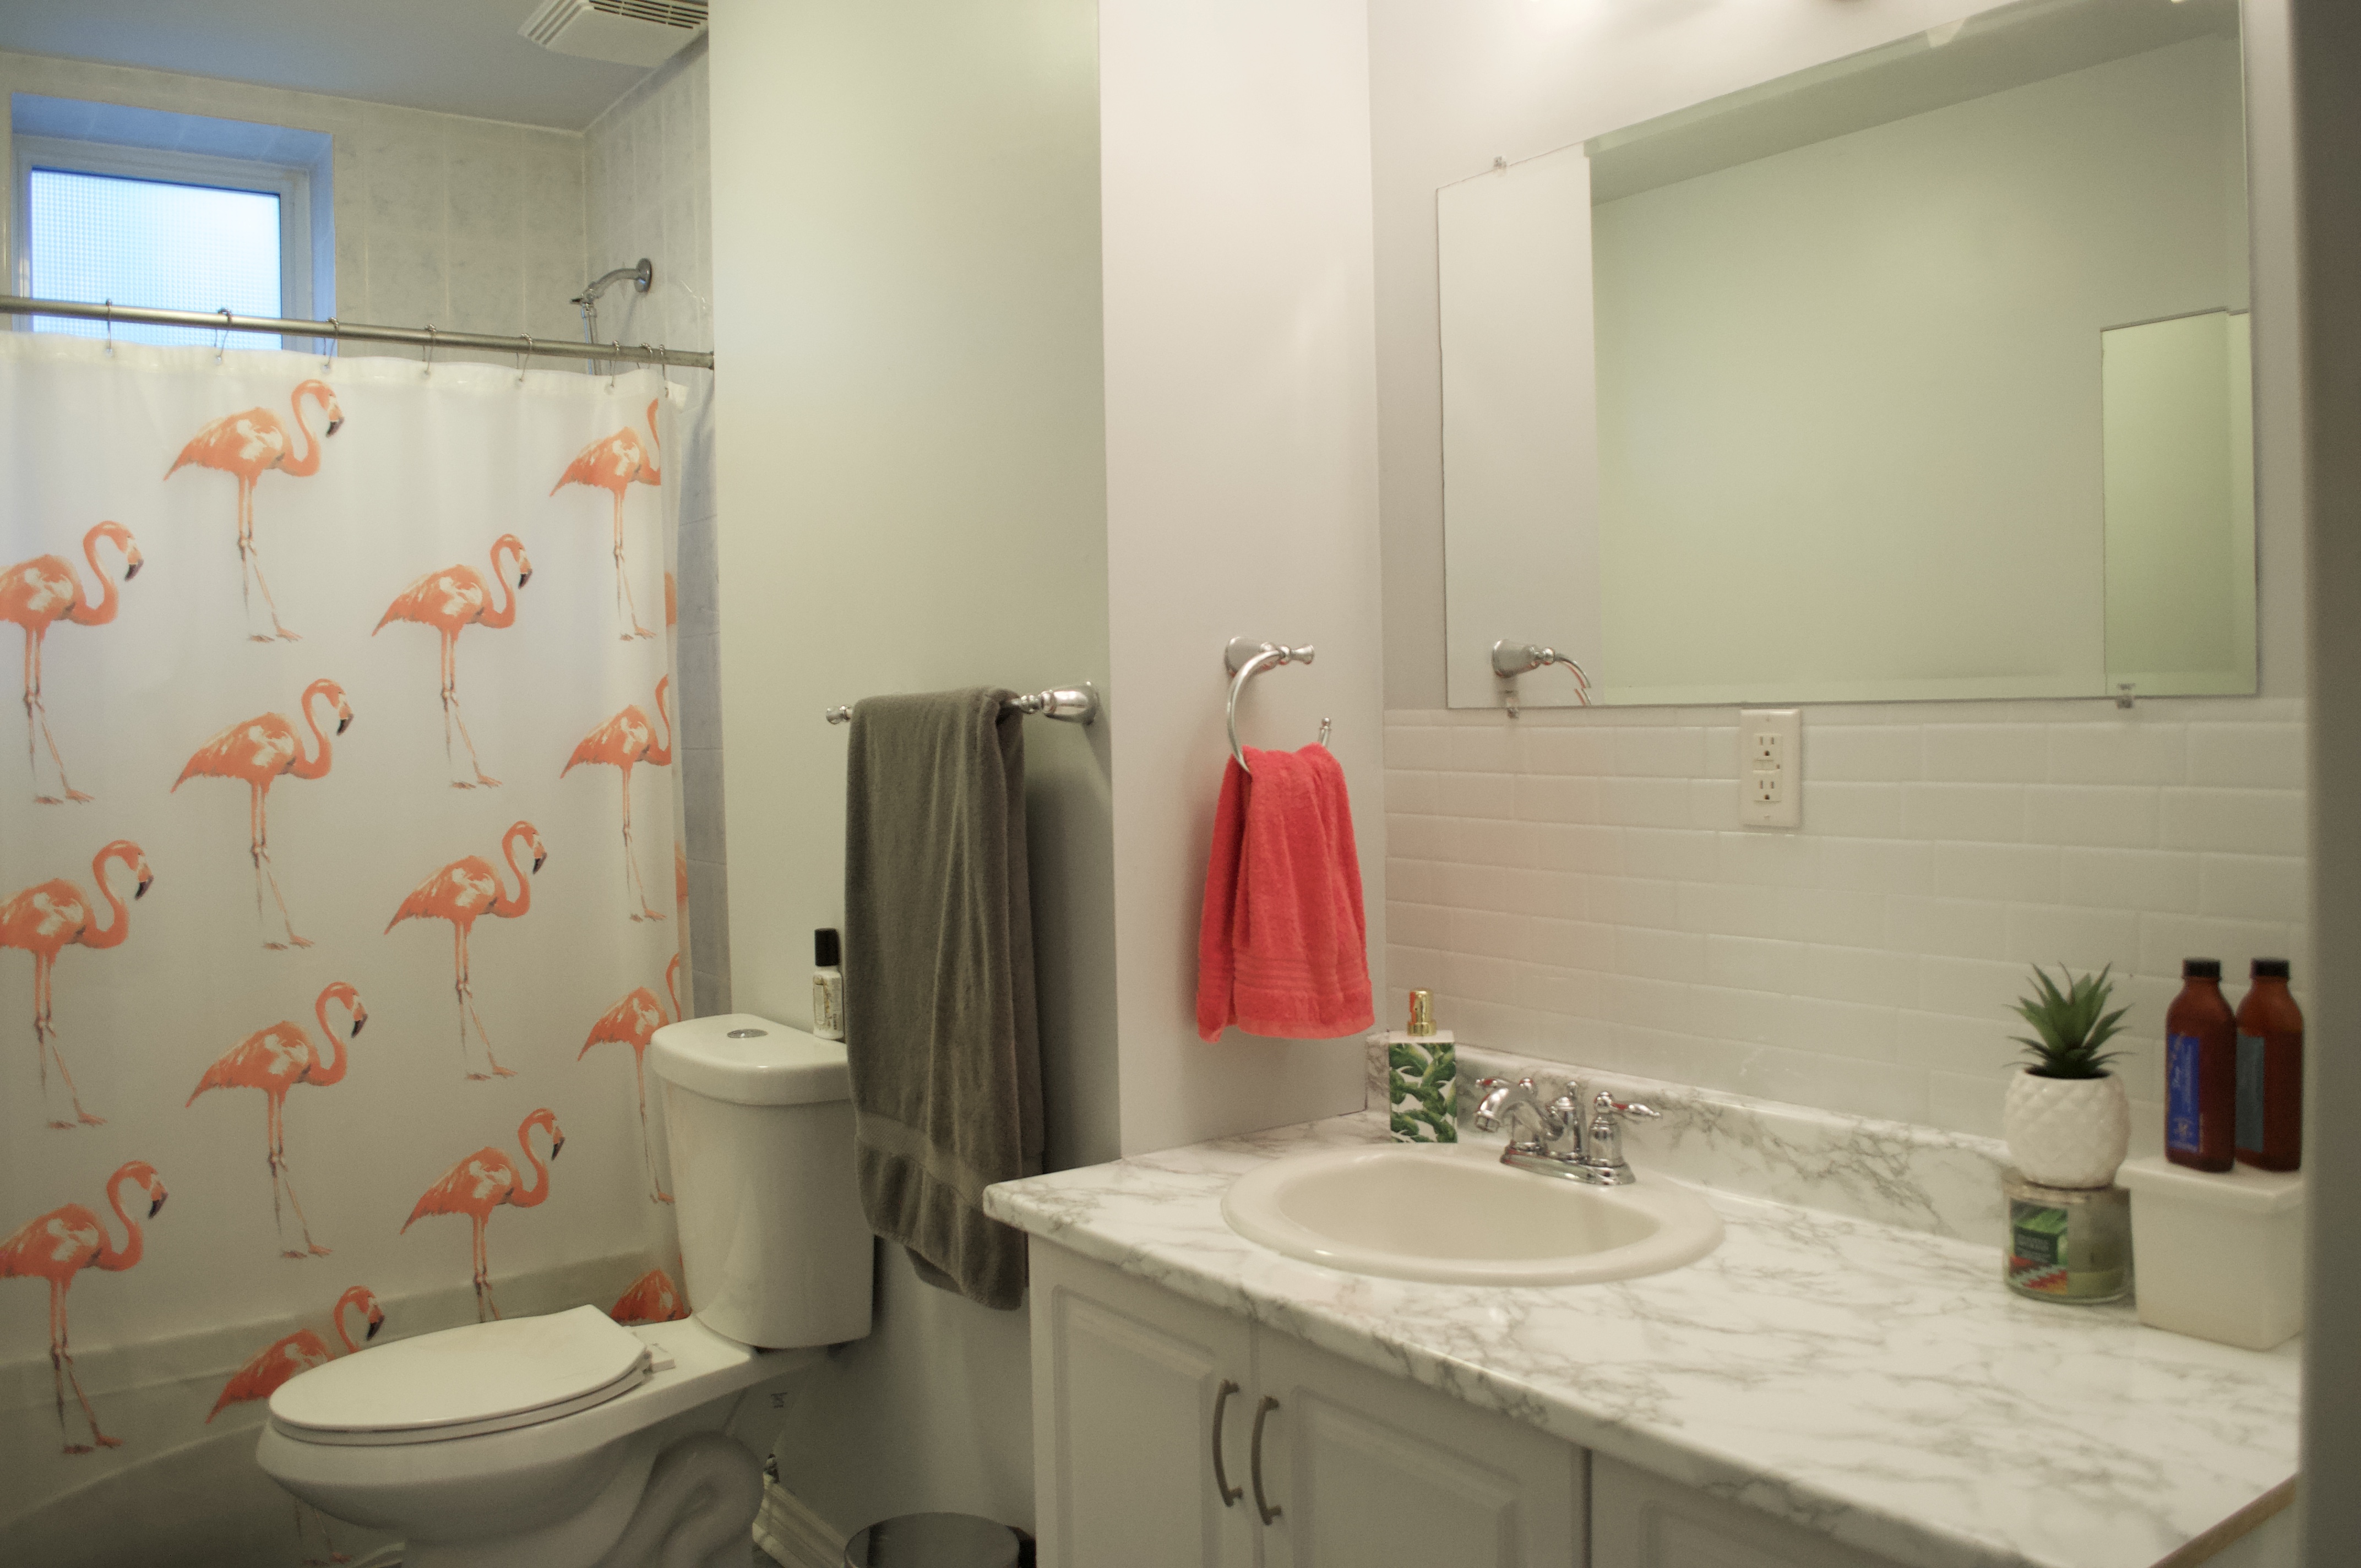
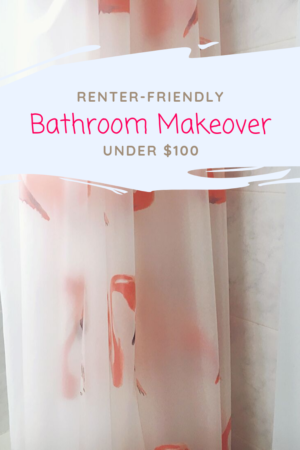
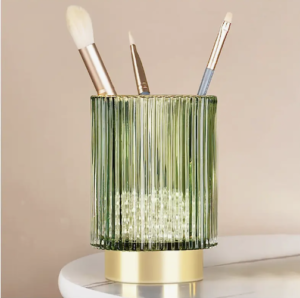
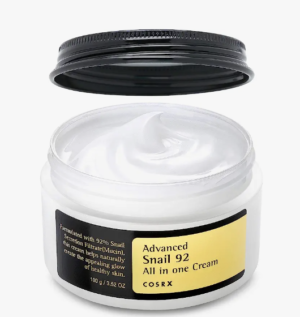
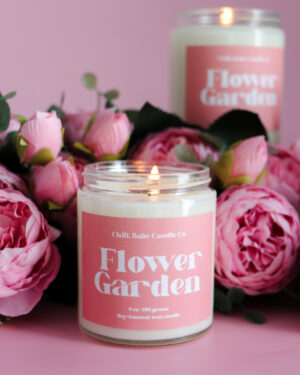
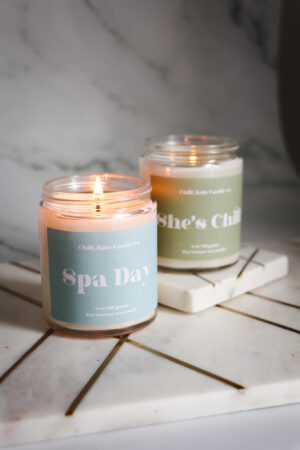
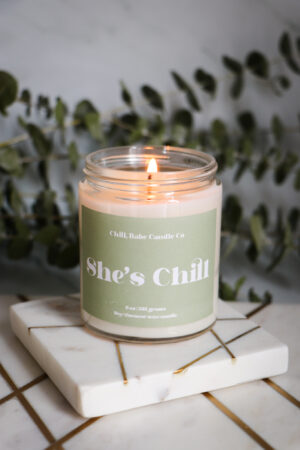
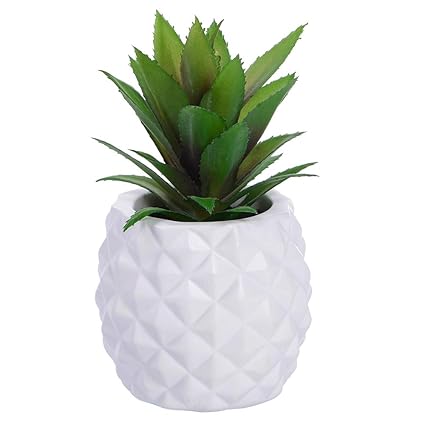
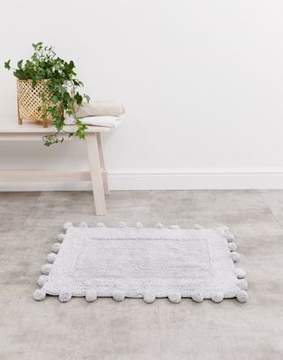
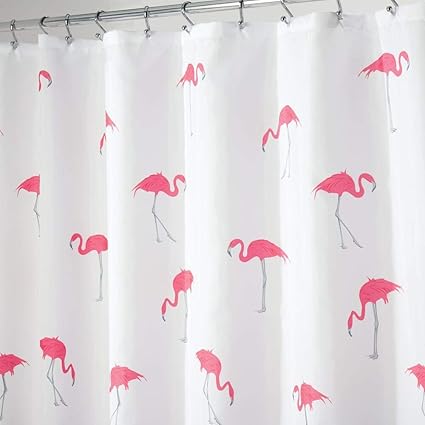
I didn’t stop there though! Since I was looking to brighten up my bathroom, I decided to go ahead and add some new accessories! The pink flamingo shower curtain, pink, and green accents help brighten up this space even more! I like to decorate according to seasons, so if I were to switch it up and decorate for Christmas, it would be easy to switch small things out. Everything goes with the new white marble look! See something you like? Click below to shop this post!
SHOP THIS POST


I hope you found this post useful and that you find a way to transform a room in your home! Don’t forget to check out my kitchen makeover, click here to check it out!
PINT IT