Chocolate and hazelnuts: The world’s best flavour combination.
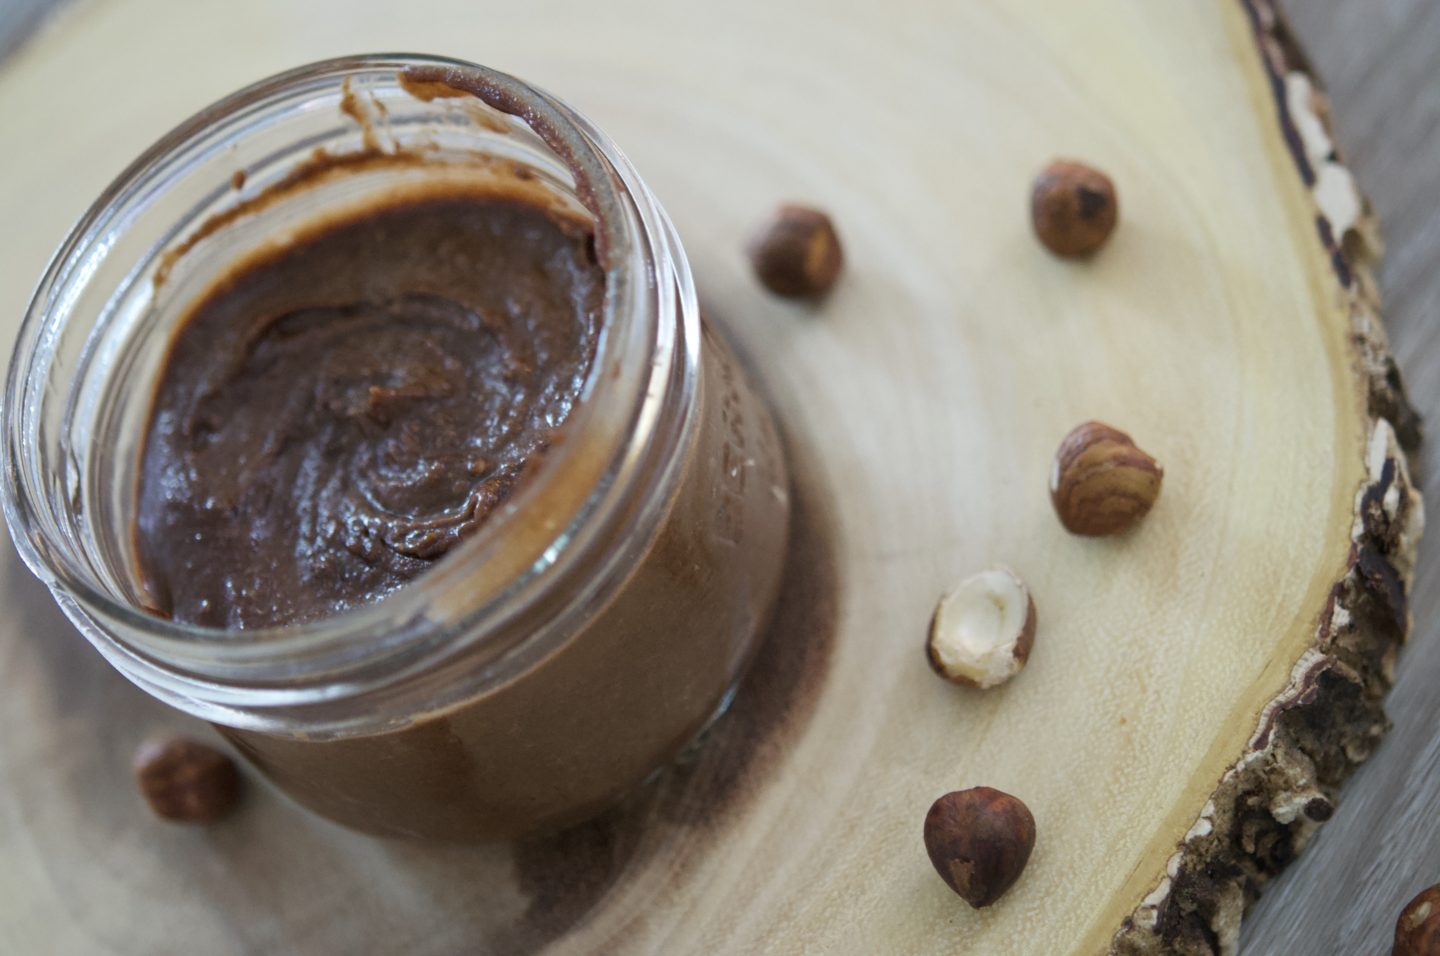
Well, to me at least. We all love this one chocolate hazelnut spread that I will not name. You know, the one that rhymes with… “Numella?” It’s tastes amazing, but HOLY MOLY is it filled with sugar. I used to eat this stuff like it was nothing and now that I’m 30 (how did that happen?), I’m trying to think about what I’m putting in my body. Long story short, I wanted to make my own, found this recipe from Fablunch, and now I’m obsessed! Does it taste like the original? No, but it’s delicious in its own right. Easy to make, super tasty, vegan, and actually not awful for you. I’d call that a win. So here it is, folks; Homemade chocolate hazelnut spread.
Jump to the recipe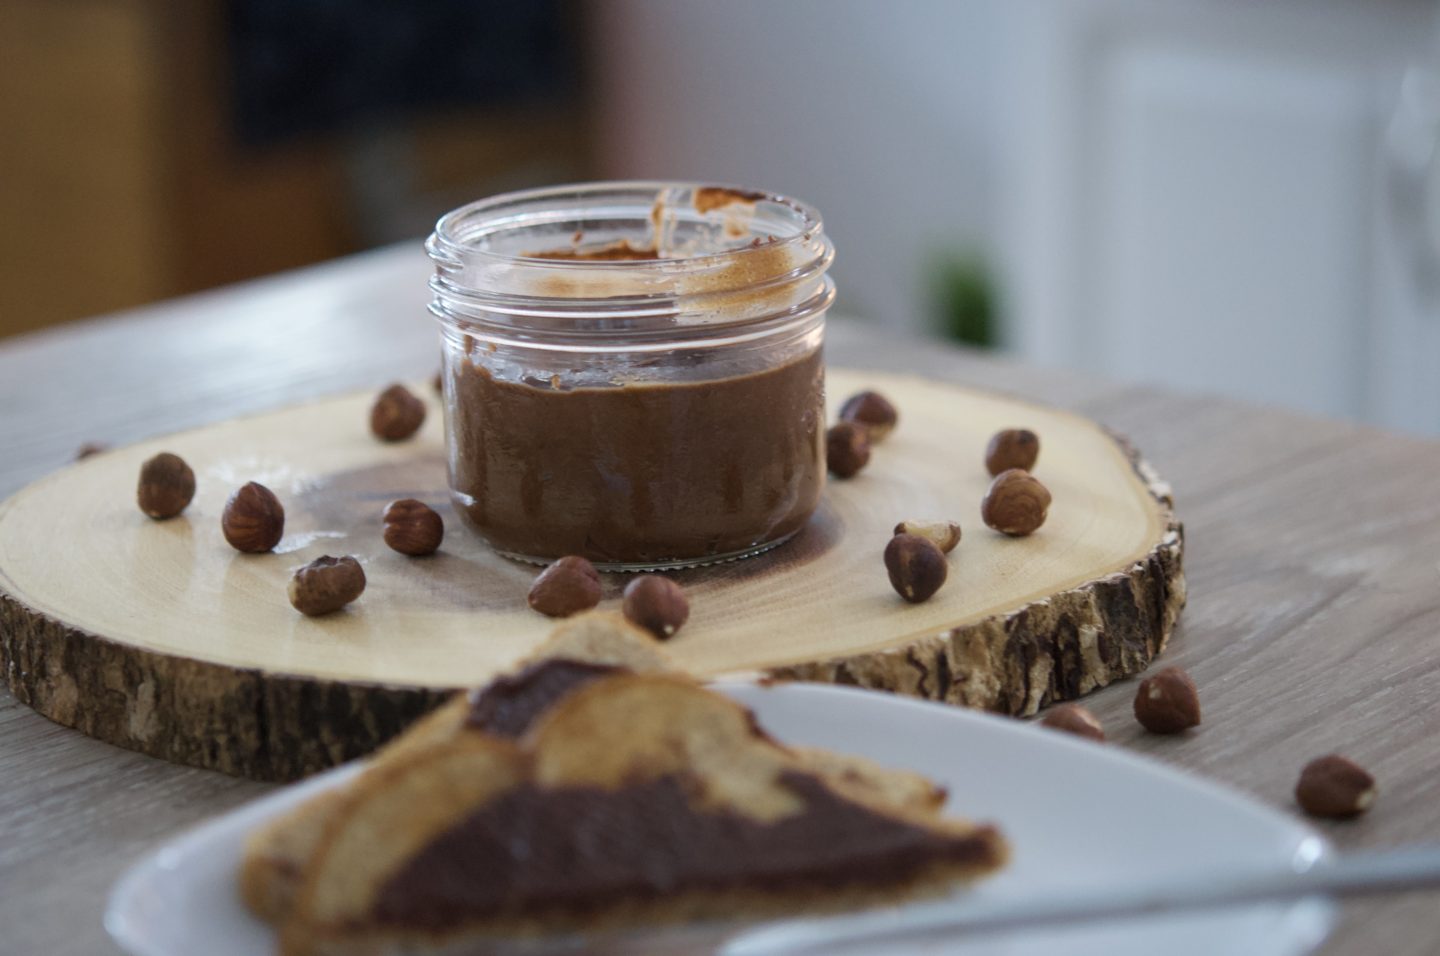
Roasting the hazelnuts
Ok, I have to admit something; I was scared to roast the hazelnuts and I don’t know why. I figured that if I was going to mess one thing up, it would be that and I’d burn them. To my surprise, it was super easy! I put some parchment paper on the baking sheet because I didn’t know if they’d stick or not. It worked in my favour because they didn’t stick and my baking sheet didn’t get dirty. Gotta love one less thing to clean! One tip I would give is to make sure you set a timer. I didn’t and I kept forgetting to stir them every 5 minutes.
Making nut butter
This was also easier than I expected! Obviously, I knew the food processor was going to be doing all of the work, but I thought it would take longer than it did. One tip I have is to stop the food processor every minute or two. Since the food processor will be doing all of the work, you’ll need to stop and let it cool down every few minutes. If you have a newer food processor, you may not need to do that. Now that I know how to make nut butter, the days of buying them in stores are over! Wooohooo! Am I one step closer to being Martha Stewart (minus the prison time)? I think so!
Bringing it together
Once you’ve made hazelnut butter, add the cocoa powder, maple syrup, and water. I only added half of the water at first because I wanted to control the consistency. For a thicker spread, use less water. For a thinner spread, use more water. Once everything was combined, I put it in a jar and let it sit for 30 minutes. This will give it time to let the flavours mingle. When I first tasted it, all I could taste was the syrup. The chocolate flavour developed after I let it sit for a little bit. It’s so delicious and I’ve eaten so much already!
What can you put it on?
You can put this on anything you’d like, but here are some of my recommendations:
- toast
- pancakes (click here to get my chocolate chip pancake recipe)
- waffles
- smoothies
- sandwiches (like a PB&J, not turkey…unless you’re into that kind of thing.)
- a filling for pastries
This is for all the people who love Nutella but hate that it's basically all sugar! This spread is delicious, vegan, and so easy to make!
- 1 cup hazelnuts
- 1 1/2 tbsp cocoa powder
- 1/4 cup maple syrup
- 1/4 cup water
-
Preheat your oven to 350℉
-
Put your hazelnuts onto a baking sheet and bake for 15 minutes. You'll want to stir them every five minutes or so to keep them from burning on one side.
-
After 15 minutes, take your hazelnuts out of the oven and let them good for another 15 minutes.
-
Put your hazelnuts into a blender or food processor and blend them until they're in a nut butter state. This may take a little while depending on the strength of your blender. You'll know when it's nut butter because it will get runny.
-
Add the cocoa powder, maple syrup, and a bit of water. Add the water gradually until it becomes a consistency that you like.
-
Eat!
Seriously guy, I love this stuff! I’m so happy I found this recipe and that I could try it out and share it with you. Do you like chocolate-hazelnut spreads and will you be trying this one? Tell me in the comments and let me know what your favourite flavour combination is!
xo J
PIN IT


